Shed kit FAQ
Very good link on heat shields and combustibles
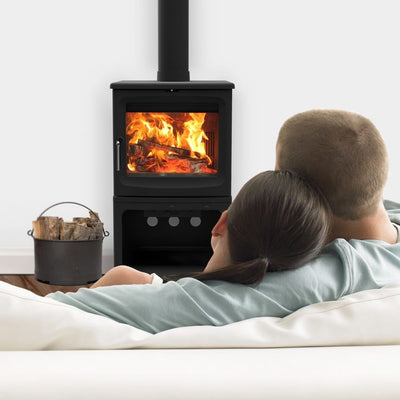
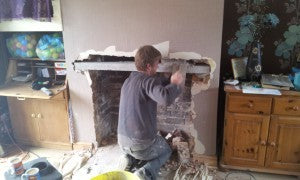
Why fit a wood stove in a shed or other small building?
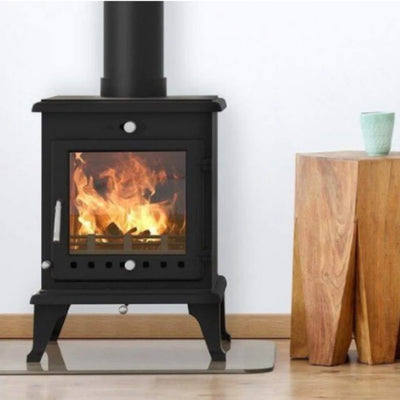
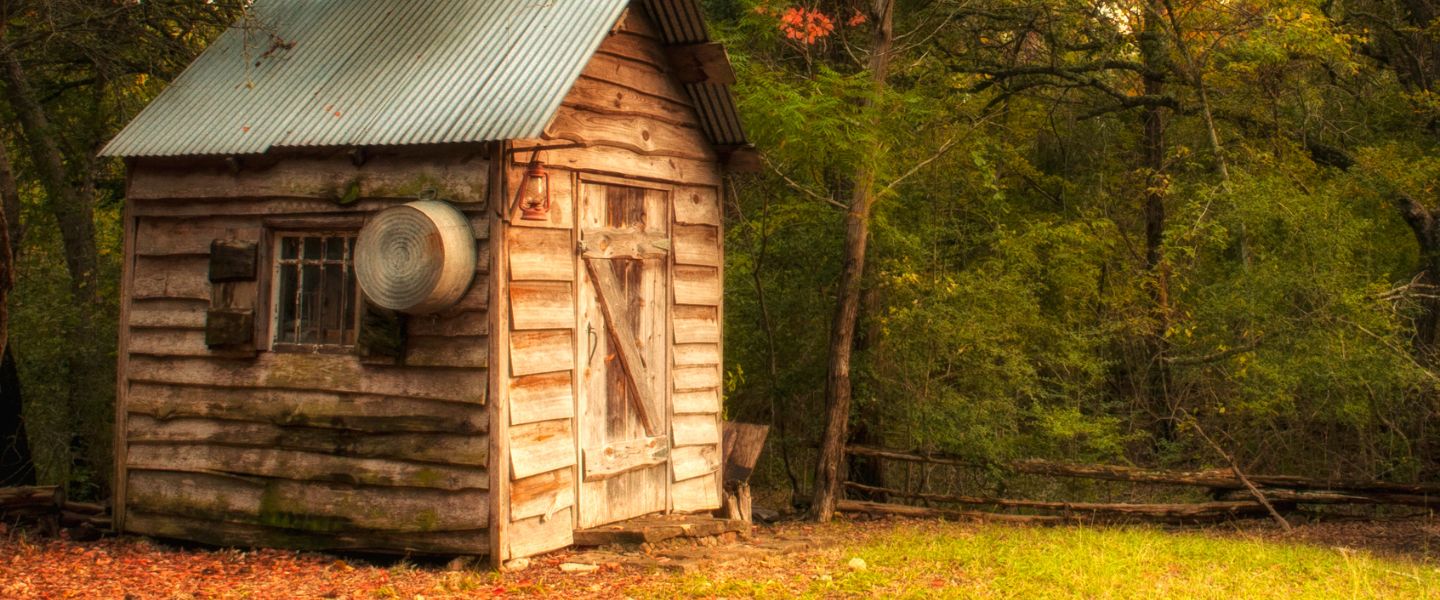
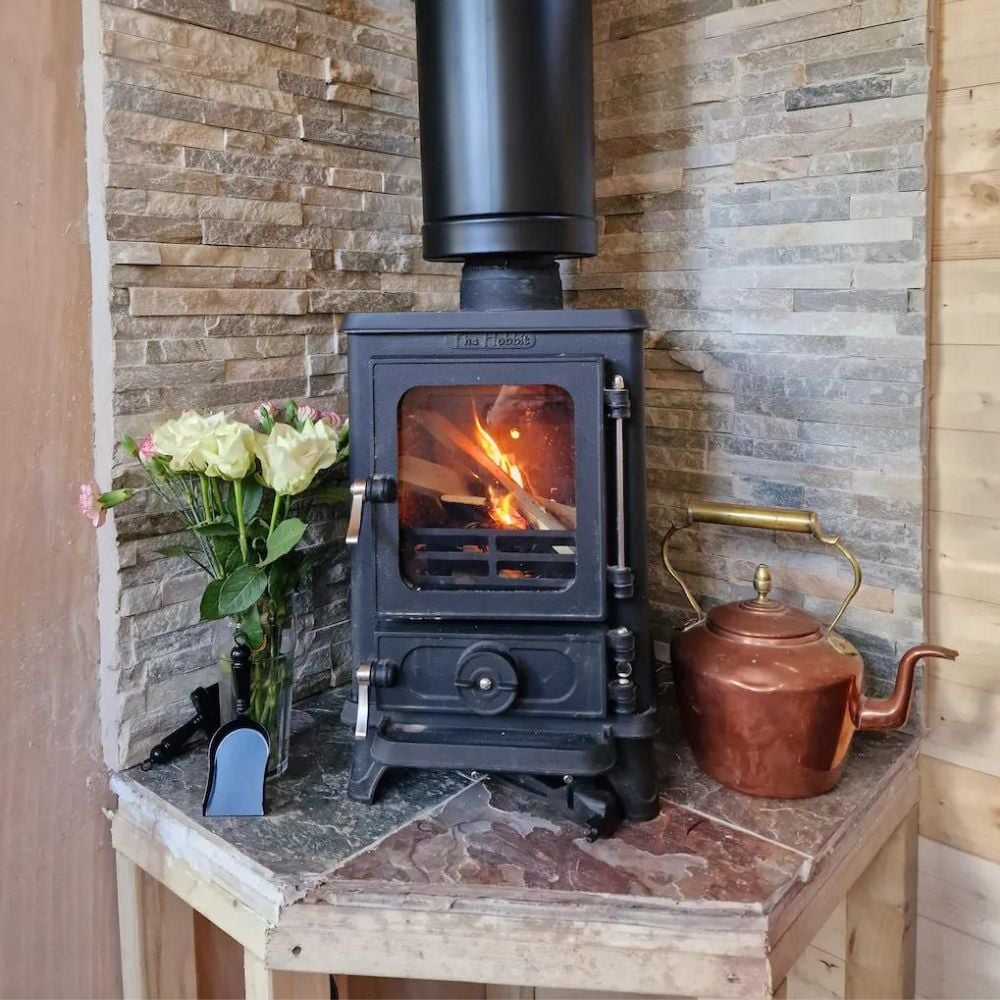
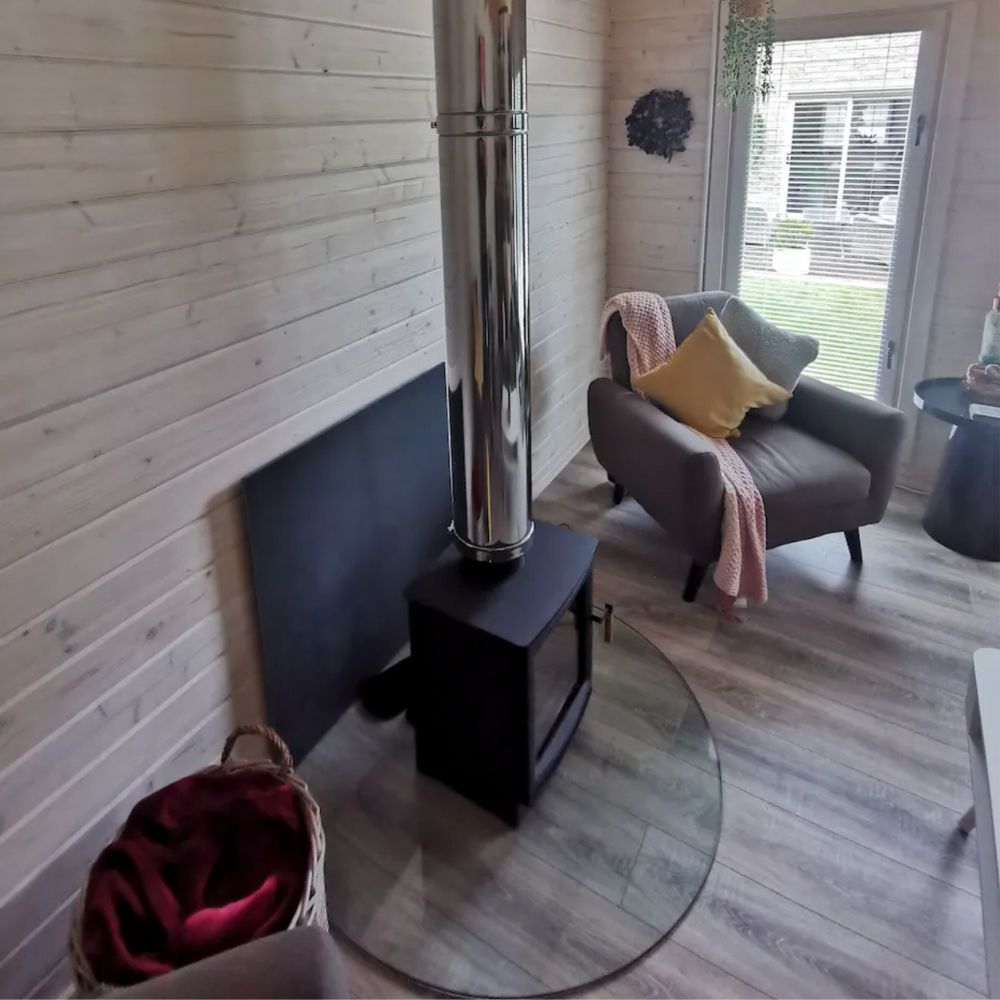
If like many people, your shed or garage is your refuge, then you want to make it as comfortable as possible. This means finding a way to keep it heated during the colder months. A small wood burning stove is the perfect solution. It can completely transform a cold and unwelcoming shed or garage into a warm and cosy retreat.
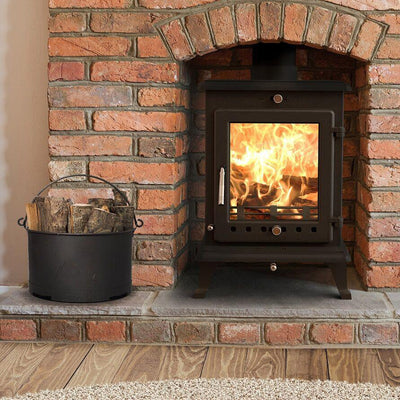
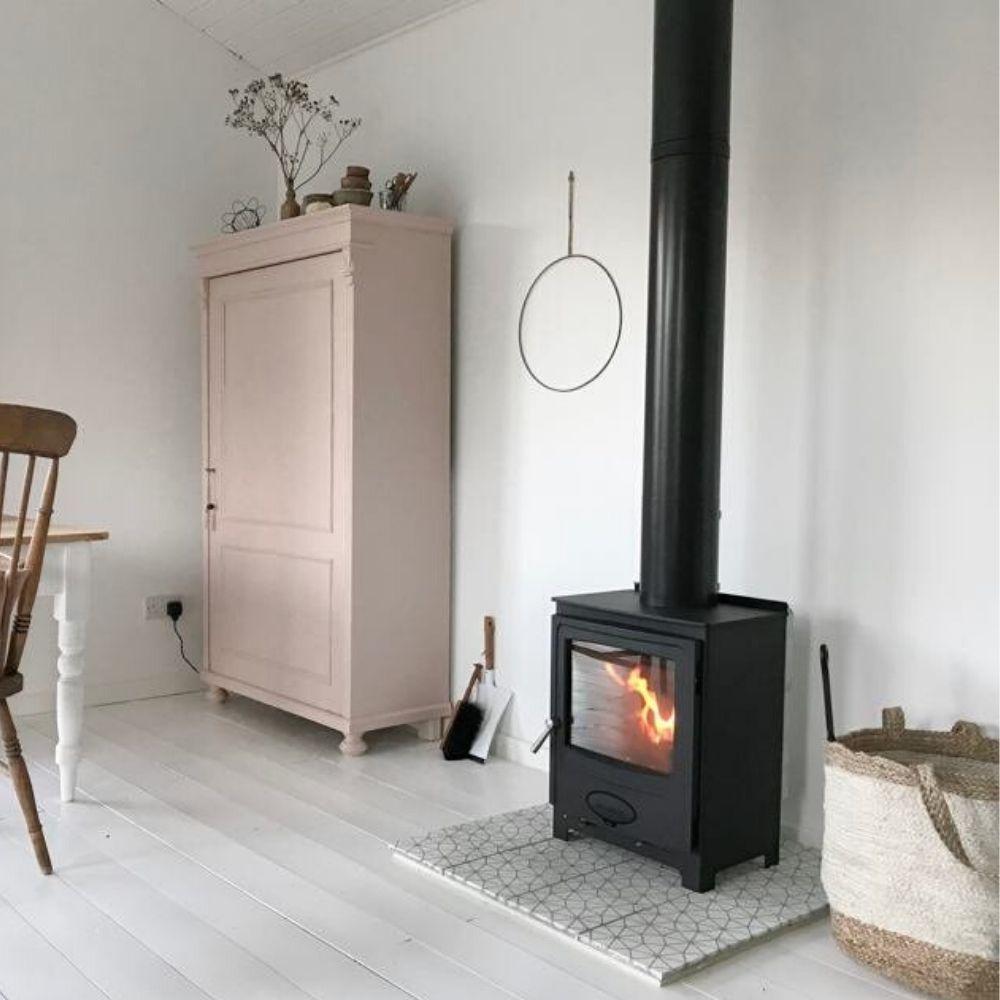
What size stove for a small room?
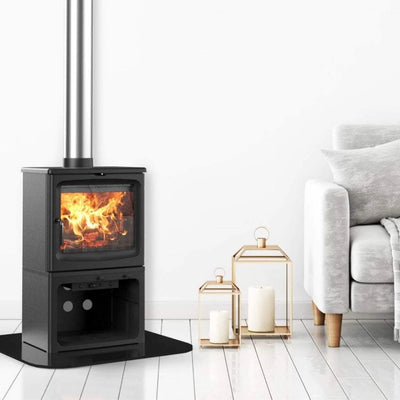
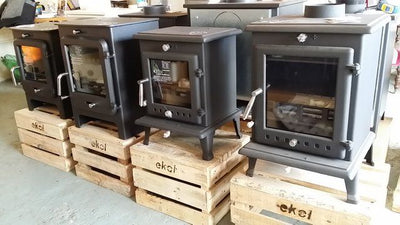
For most small spaces, a small 4-5kW logburner is probably the right choice. You can use a calculator to check what heat output would be best (you’ll find the very gizmo on our home page). This is based on the space inside your shed. However, unless you have a huge shed or garage, a 4kW or small 5kW stove is probably the right size for you. While small, it will produce a lovely cosy fire and plenty of heat. Or choose a smaller 5kW stove and put less wood in it! Some stoves have integrated log storage which can be handy, as it will save you from going out in the cold when your stove needs topping up with combustibles.
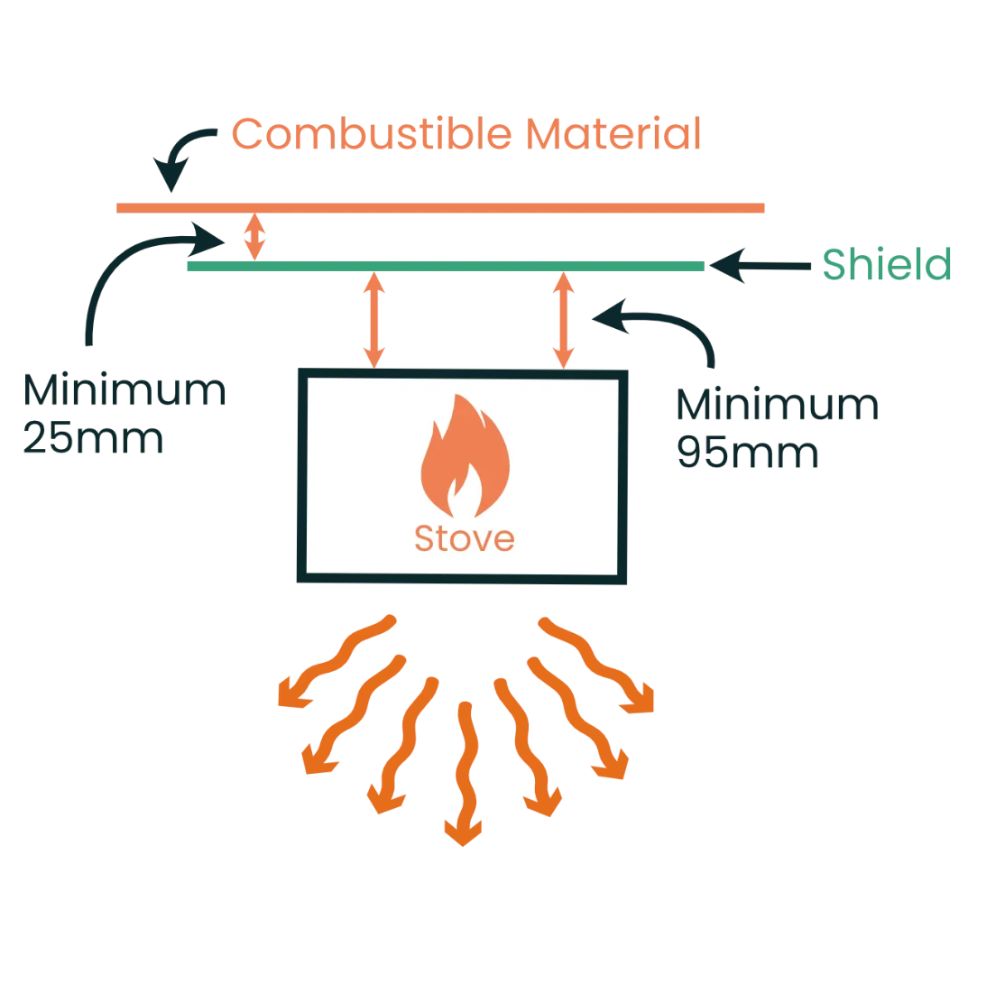
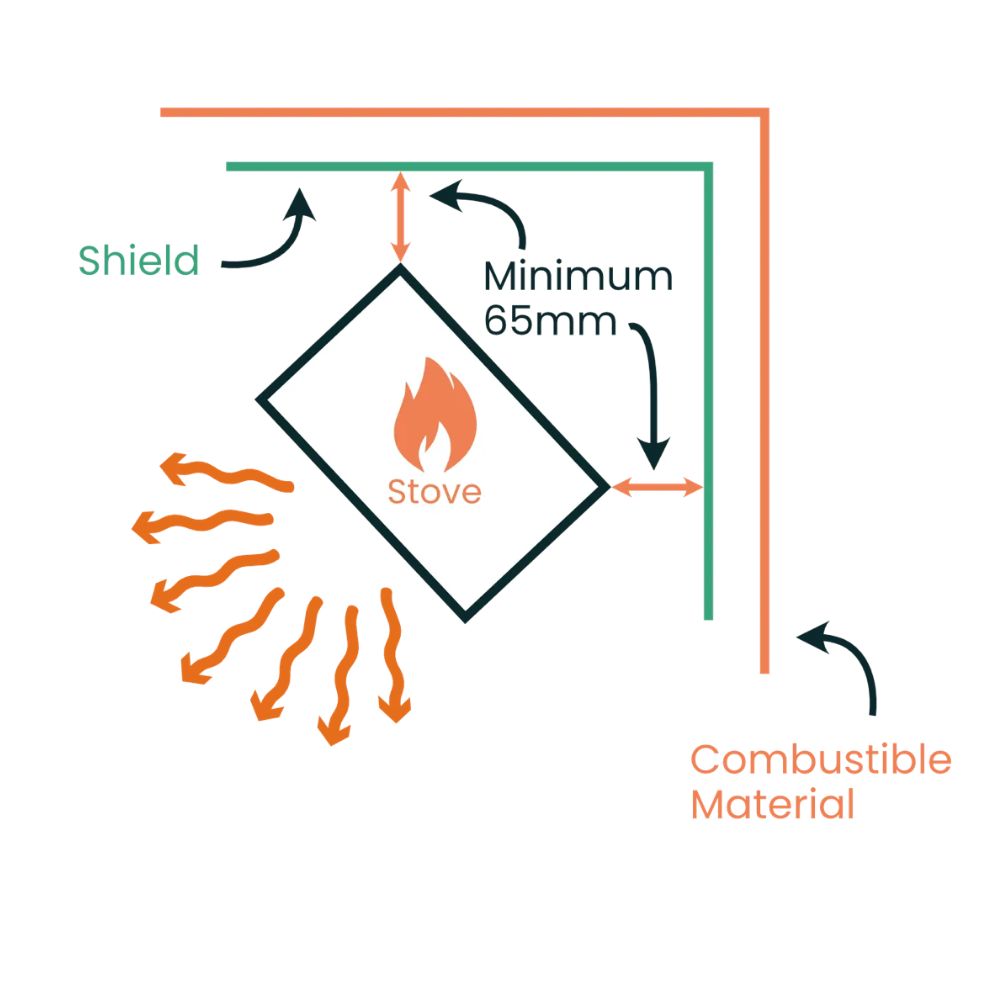
How close can my stove be to the walls of my wooden building?
Best to read our distances to combustibles article. A stove will often need be 60cm to 100cm from wood without a shield.
Do I need a hearth for my shed?
A simple slab from the outdoor yard of your local builder’s merchants will suffice (ideally 84x84cm minimum as this is what building regs says). It is important, if your floor is wood, you choose a stove that can sit on a 12mm hearth (most of ours can - see specifications or use our search filters.
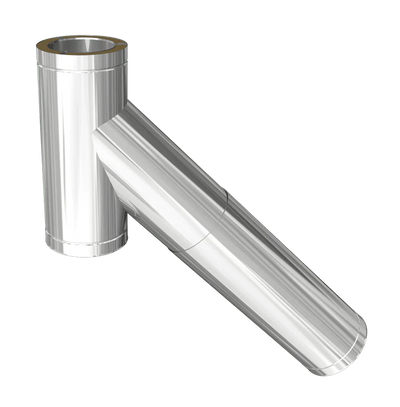
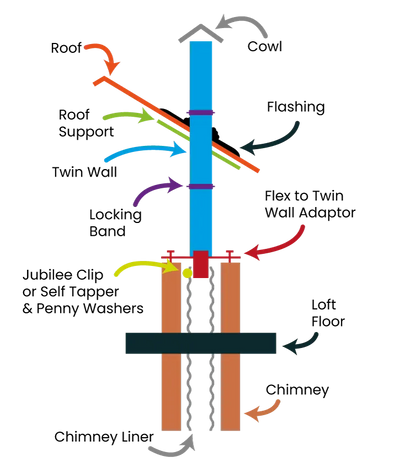
What is twin wall flue?
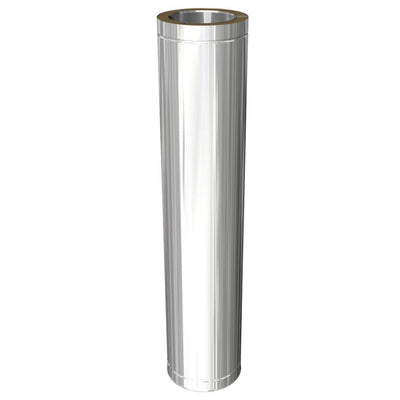
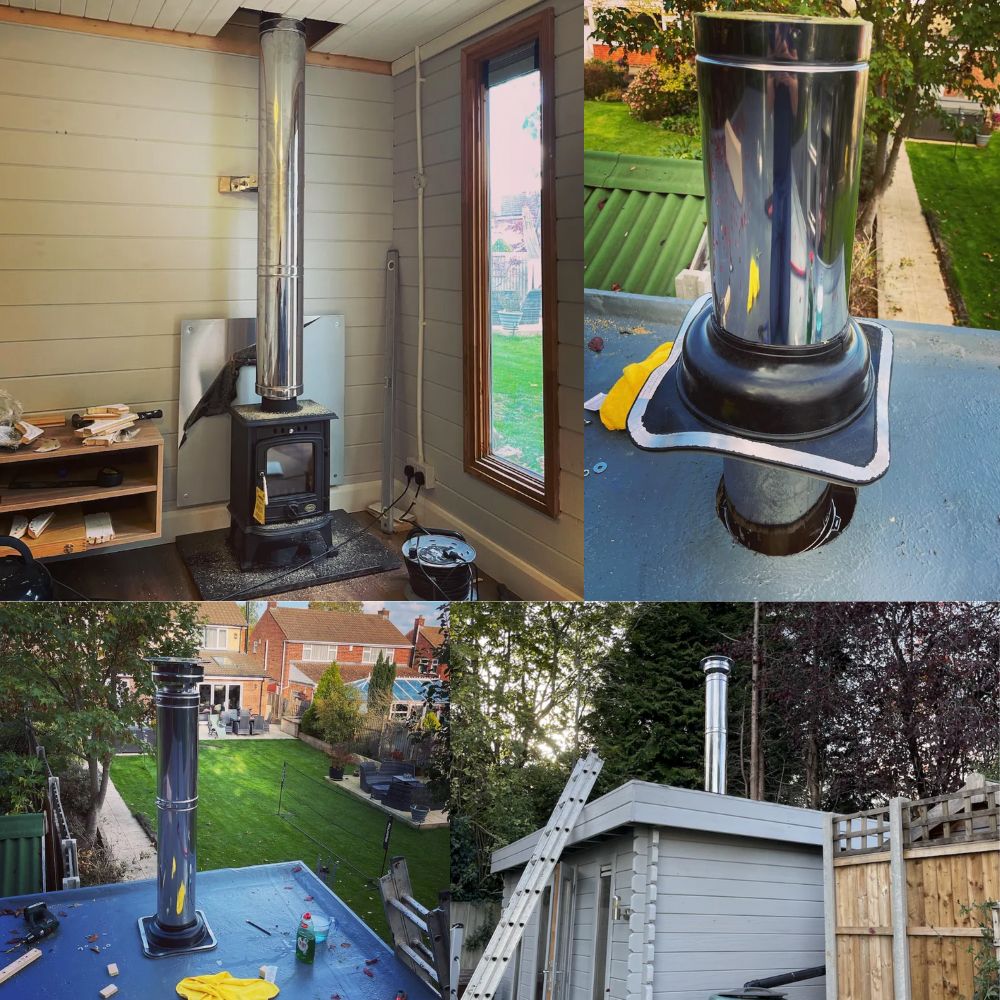
Our kits use clip-together insulated flue pipe which is generally referred to as "twin wall". It is two skins of metal with about an inch of insulation (Rockwool usually) sandwiched in between. Is a twin wall chimney safe in a shed? Twin wall pipe generally gets no hotter than a radiator. Because it is insulated the clip-together insulated flue pipe can be as close as 5cm to wood and is completely safe (7cm if the flue is boxed).
Can I legally fit a wood stove in my shed, garage, gazebo, caravan?
Regarding permissions or certificates you do not need permission if the property is not "habitable". Who defines whether something is "habitable"? We do not have an answer to this. As a general rule Building Control are not interested in garden rooms, sheds, garages, boats, vans and caravans etc. Of course if your garden shed is the size of a small bungalow with bedrooms and carpets then you might wish to talk to them :-)
Is this job an easy DIY task?
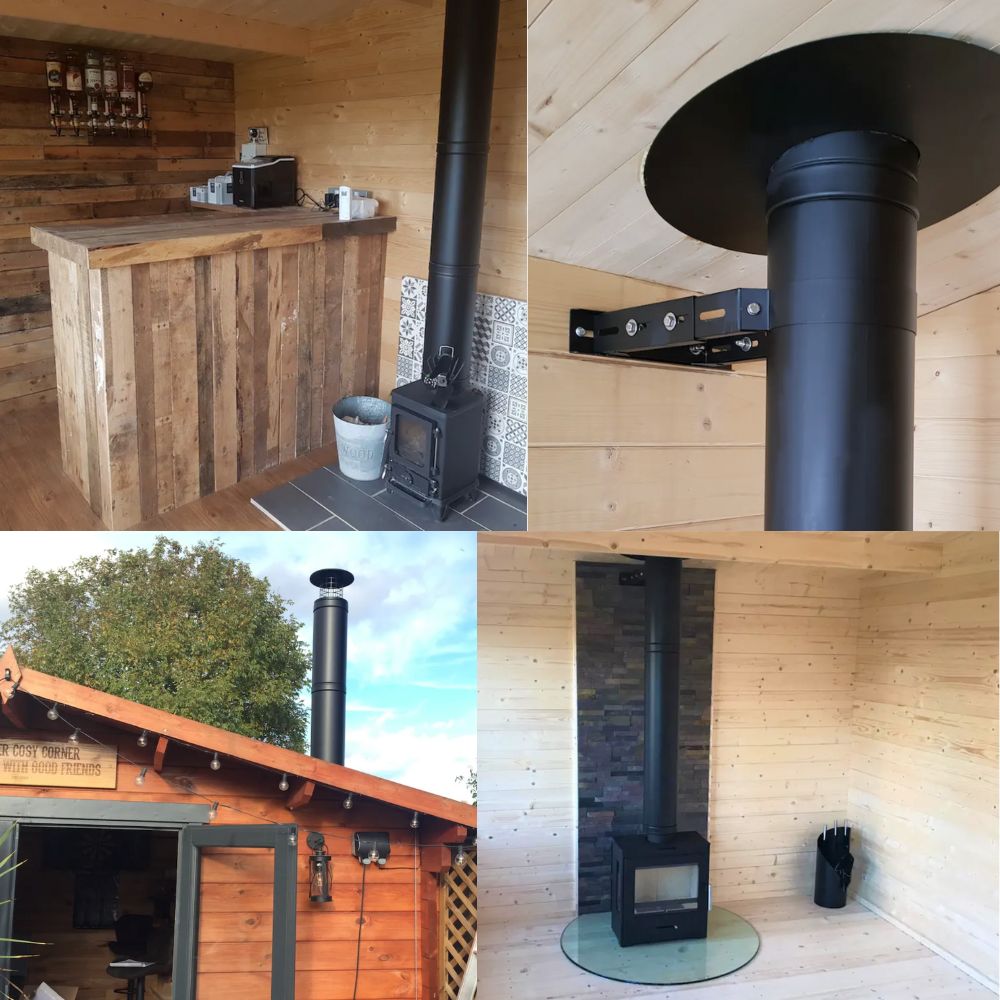
Installation is probably a lot easier than you might think. DIY wood stove install is not a difficult task as the chimney system is "clip-together" and because it is a shed we are not working at a great height. The twin wall is super easy to install - the chimney parts just clip together and the bottom of the chimney inserts into the stove with a wrap of sticky-back fireproof stove pipe webbing (supplied). Ever heard of Meccano kits ? You get the picture.
Can I use the thinner uninsulated pipe called vitreous pipe?
Single skin vitreous pipe must be kept at least 15-18" away from any combustible materials so is not usually suitable. This gets very hot indeed and can set fire to combustible materials if they get too close and hence we do not sell this within our kit (we can as a bespoke design). Because twin wall pipe has clip-on locking bands a chimney made only of twin wall (without vitreous pipe at all) is very strong structurally. Hence only one wall bracket is required. We often get asked if we can use vitreous pipe instead of the insulated twin wall for the first metre above the stove. We can BUT the joint is weak (wobbly) and this can only be rectified by having multiple twin wall brackets instead of one (chimney strength comes from at least two points of contact with the building).
What diameter hole will I make in my shed roof?
Twin wall has an outer diameter of 192mm and 6" has a diameter of 217mm. If passing through a combustible surface (felt/wood etc.) your hole diameter in the roof will be 300mm for 5" twin wall and 325mm for 6" twin wall. This provides an air gap of at least 50mm all round your flue. If you are going to box in the pipe where it passes through the roof (create an enclosed space where heat can build up) please ensure you have a 70mm gap around the flue)
Which kit should I choose?
Click the more info button next to the different options as it explains all.
What if I need more height?
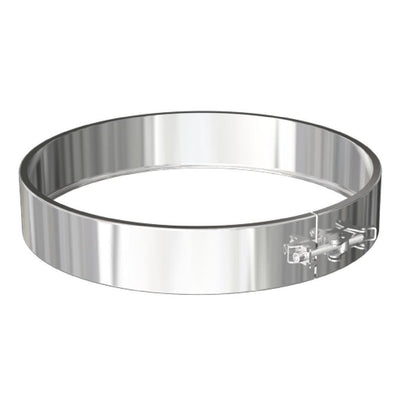
Go to Product Addons and add extra lengths in 25cm, 50cm, 80cm or 100cm. Add one narrow locking band for each part purchased.
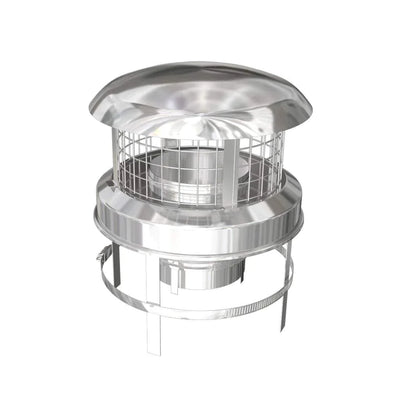
How high above my roof surface must my chimney be?
A minimum of one metre. Also worth watching our 6-minute chimney design video.
The part that seals the hole in the roof, the flashing - what type of roof is is suitable for?
It is an Ezi-Seal EDPM flashing for felt, metal, GRP, rubber. Almost any flat or undulating surface except tiles. It has a pliable flange suitable flat or undulating surfaces (e.g. a corrugated metal roof).
Manufacturer's website and video here
My roof is tiled - what flashing to choose?
If you have tiles then find the product “Customise Your Shed Kit” and upgrade your flashing to “aluminium or rubber for tiles” (two separate flashings).
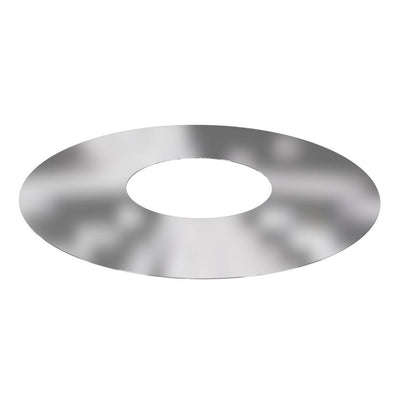
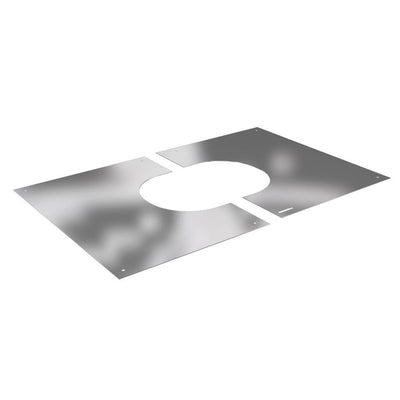
How do I hide any hole from the inside?
Choose a Finishing Plate from Product Addons on this page. We do not include it in the kit as some do not need this part.
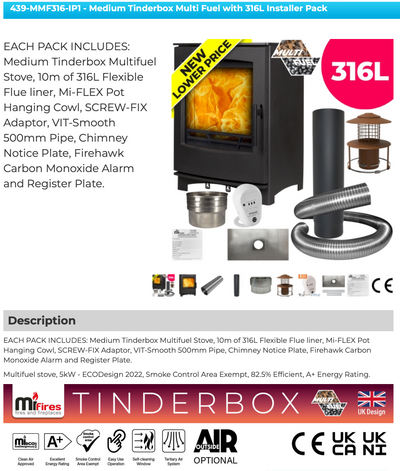
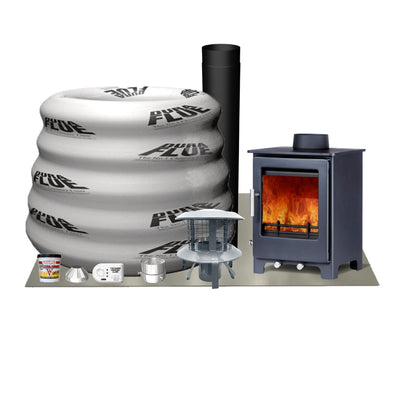
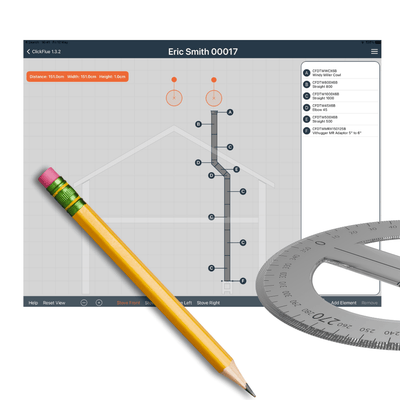
What exactly is in the kit?
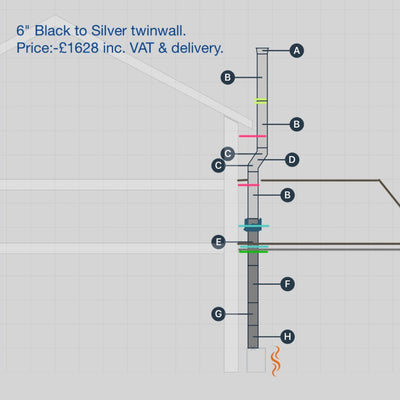
1x stove to twin wall adaptor, 2x 1000mm twin wall straights, 1x 500mm twin wall straights, 1x twin wall weathering cowl, 1x roof flashing EDPM ezi-seal, 1x adjustable bracket 95-135mm, 4x narrow joint clamp (connects parts together), 1x fireproof webbing (for adding to snout of twin wall where enters stove).
I am worried about my roof leaking, can you reassure me?
The flashings we sell are easy to install and leakage is zero when installed properly. Everybody worries - then we hear back that all went well.
How do I connect the Ezi-Seal flashing to my roof?
Very simply you screw it or bolt it. Most use screws. If screwing into wood use wood screws. If into metal use roof ing screws. No Silicon adhesive required.
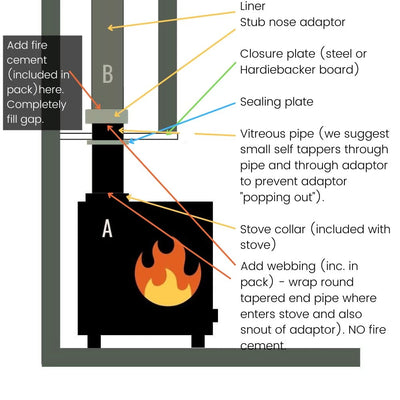
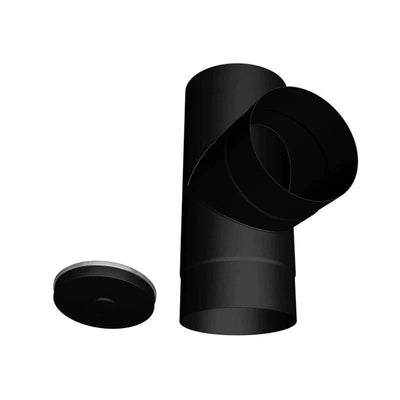
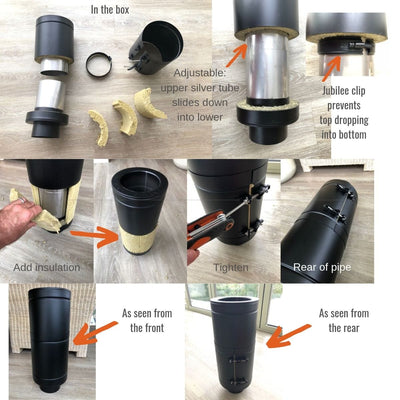
The adaptor that fits to the stove - tell me more.
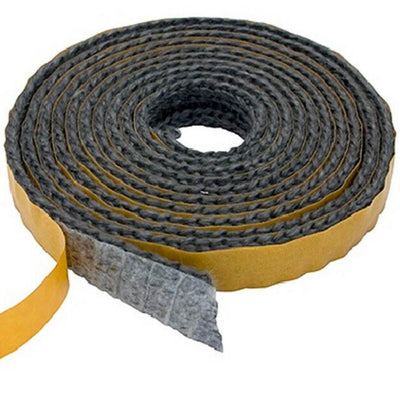
This twin wall adaptor is supplied with the kit and is the lowest part in the system and connects directly to the stove. The snout of this part can be cut shorter so it is all hidden within the stove collar. Wrap fireproof webbing (included with the shed kit) around the snout before sliding the snout snugly into the stove, No fire cement then required. This part is always a loose fit. Manufacturers undersize the snouts to fit ALL stoves. Stove makers oversize the collar to fit all pipes and snouts. Best to use fireproof webbing wrapped around snout. Fire cement works but cracks and falls out over time.
Is 2.5m enough for a chimney?
In an ideal world we would have 4.5 metres. But modern materials allow us to push the limits and go shorter whilst retaining the required amount of draw. Think about adding an extra half metre if it will not look silly.